opencv チュートリアルチャレンジ2 画像の幾何変換
画像の幾何変換 — OpenCV-Python Tutorials 1 documentation
リサイズ
void cvResize(const CvArr* src, CvArr* dst, int interpolation=CV_INTER_LINEAR)
画像をリサイズします.

パラメタ:
src – 入力画像
dst – 出力画像
interpolation –
補間手法:
CV_INTER_NN 最近隣接補間
CV_INTER_LINEAR バイリニア補間(デフォルト)
CV_INTER_AREA ピクセル領域同士の関係を利用したリサンプリング.画像縮小の際は,モアレの無い処理結果を得ることができる手法です.拡大の際は, CV_INTER_NN と同様です
CV_INTER_CUBIC バイキュービック補間
やってみる
#!/usr/bin/env python
# -*- coding: utf-8 -*
import cv2

img = cv2.imread('170519-174830.jpg')

height, width = img.shape[:2]
img = cv2.resize(img,(2*width, 2*height), interpolation = cv2.INTER_CUBIC)
cv2.imshow('resize INTER_CUBIC', img)

img = cv2.resize(img,(2*width, 2*height), interpolation = cv2.INTER_LINEAR)
cv2.imshow('resize INTER_LINEAR', img)

cv2.waitKey(0)
cv2.destroyAllWindows()
並進
縦横にスライドさせる
行列の書き方を、きちんと把握する事が大事そう。
Comments from the Wiki

void cvWarpAffine(const CvArr* src, CvArr* dst, const CvMat* mapMatrix, int flags=CV_INTER_LINEAR+CV_WARP_FILL_OUTLIERS, CvScalar fillval=cvScalarAll(0))
画像のアフィン変換を行います.

パラメタ:
src – 入力画像
dst – 出力画像
mapMatrix – 2\times 3 の変換行列
flags –
補間手法,および以下に示すオプションフラグの組み合わせ:
CV_WARP_FILL_OUTLIERS 出力画像の全ピクセルを埋めます.対応するピクセルが入力画像の範囲外であるようなピクセルには,値として fillval がセットされます
CV_WARP_INVERSE_MAP これは, matrix が出力画像から入力画像への逆変換であることを表します.したがって,この行列を直接ピクセル補間に利用できます.このフラグが指定されていない場合は,この関数が mapMatrix の逆変換を求めます
fillval – 対応のとれない点を埋める値
やってみる
#!/usr/bin/env python
# -*- coding: utf-8 -*
import cv2
import numpy as np

img = cv2.imread('170519-174830.jpg')
height, width = img.shape[:2]

M = np.float32([
    [1, 0, 100],
    [0, 1,  50]
    ])
img = cv2.warpAffine(img, M, (width,height))
cv2.imshow('warpAffine', img)

cv2.waitKey(0)
cv2.destroyAllWindows()
これが
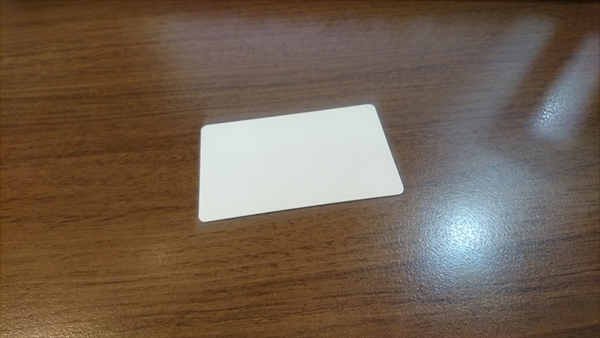
こう
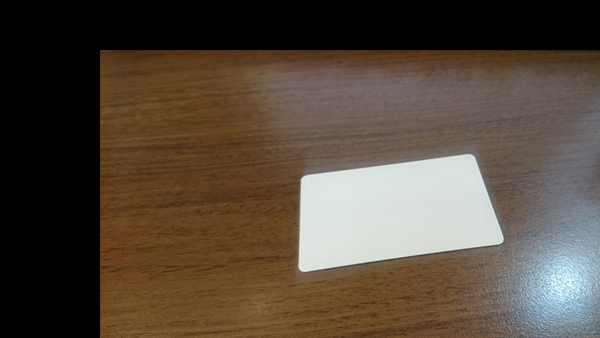
回転
回転の基本は、変換行列
[[ cosΘ, -sinΘ].
 [ sinΘ, cosΘ]]
らしいが、opencvでは、スケーリングも同時に行い,回転の中心位置を変更でき る変換行列を使うらしい。
そしてその変換行列は、GetRotationMatrix2D で求める。
CvMat* cv2DRotationMatrix(CvPoint2D32f center, double angle, double scale, CvMat* mapMatrix)
2次元回転のアフィン変換行列を求めます.

パラメタ:
center – 入力画像における回転中心
angle – 度単位で表される回転角度.正の値は,反時計回りの回転を意味します(座標原点は左上にあると仮定されます)
scale – 等方性スケーリング係数
mapMatrix – 2\times 3 の出力行列へのポインタ
だ。
やってみる
#!/usr/bin/env python
# -*- coding: utf-8 -*
import cv2
import numpy as np

img = cv2.imread('170519-174830.jpg')

height, width = img.shape[:2]
x = 45
M = cv2.getRotationMatrix2D((width/2,height/2), x, 1)
img = cv2.warpAffine(img, M, (width,height))
cv2.imshow('warpAffineRotate', img)
cv2.imwrite('warpAffineRotate.png', img)

cv2.waitKey(0)
cv2.destroyAllWindows()
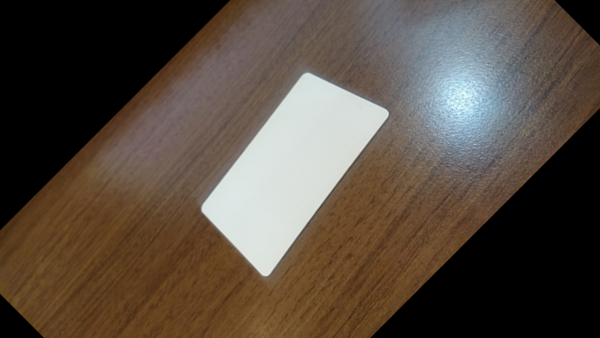
これが

こう
アフィン変換
GetAffineTransform
変換行列は GetAffineTransform でもとめる。
CvMat* cvGetAffineTransform(const CvPoint2D32f* src, const CvPoint2D32f* dst, CvMat* mapMatrix)
3組の対応点を用いてアフィン変換行列を求めます.

パラメタ:
src – 入力画像における三角形の3つの頂点座標
dst – 出力画像における,入力画像の3点に対応する3つの頂点座標
mapMatrix – 2 \times 3 の出力行列へのポインタ
少なくとも3組必要 との記述があるが、4組与えるとエラーになるので、3組ですね。
#!/usr/bin/env python
# -*- coding: utf-8 -*
import cv2
import numpy as np

img = cv2.imread('170519-174830.jpg')
rows, cols, ch = img.shape

pts1 = np.float32([[205,130],[204,213],[368,107]])
pts2 = np.float32([[100,100],[100,200],[400,100]])
M = cv2.getAffineTransform(pts1,pts2)
img = cv2.warpAffine(img,M,(cols,rows))
cv2.imshow('warpAffineAffine', img)
cv2.imwrite('warpAffineAffine.png', img)

cv2.waitKey(0)
cv2.destroyAllWindows()
やってみる
これが

こう
射影変換
変換行列を計算するためには少なくとも4組の対応点の座標が必要になります.これら4点の内どの3点をとっても同一直線上に載らないような4点を選ぶ必要が有ります
と、あります。
CvMat* cvGetPerspectiveTransform(const CvPoint2D32f* src, const CvPoint2D32f* dst, CvMat* mapMatrix)
3組の対応点を用いて透視変換行列を求めます.

パラメタ:
src – 入力画像における四角形の4つの頂点座標
dst – 出力画像における,入力画像の4点に対応する4つの頂点座標
map_matrix – 3 \times 3 の出力行列へのポインタ
やってみる
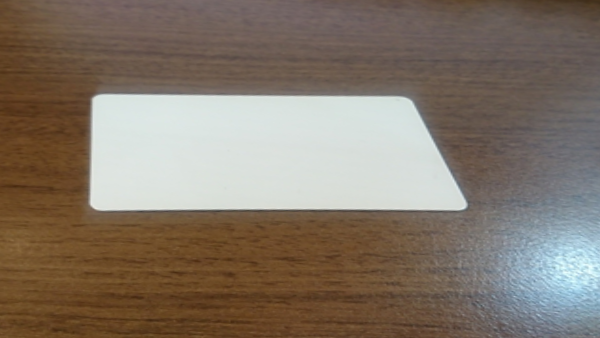
カードの角の座標は、手作業で調べました。
#!/usr/bin/env python
# -*- coding: utf-8 -*
import cv2
import numpy as np

img = cv2.imread('170519-174830.jpg')
rows, cols, ch = img.shape

pts1 = np.float32([[205,130],[204,213],[373,107],[400,186]])
pts2 = np.float32([[100,100],[100,250],[400,100],[400,250]])
M = cv2.getPerspectiveTransform(pts1,pts2)
img = cv2.warpPerspective(img,M,(cols,rows))
cv2.imshow('warpAffinePerspective', img)
cv2.imwrite('warpAffinePerspective.png', img)

cv2.waitKey(0)
cv2.destroyAllWindows()
これが

こう
